User profiles in VisiPoint can have a photo of the user added. This can be used to validate a user’s identity when they sign in using the facial recognition entry method.
When adding a picture to your profile you may have found it was not accepted because it was the incorrect size.
Images uploaded to VisiPoint profiles must have a width of between 250px – 4096px and a height of 300px – 2688px
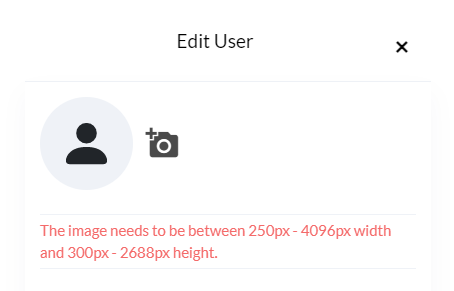
Your image must have a width of 250px to 4096px and a height of 300px to 2688px. There are two ways to adjust your image so that it is within the accepted dimensions.
NOTE: When adding pictures to profile’s, a white background should be used than any other colour.
Crop your image
The first method you can use to edit your chosen photo is to crop it. This can be done using whatever tool you use to open your image files on your device.
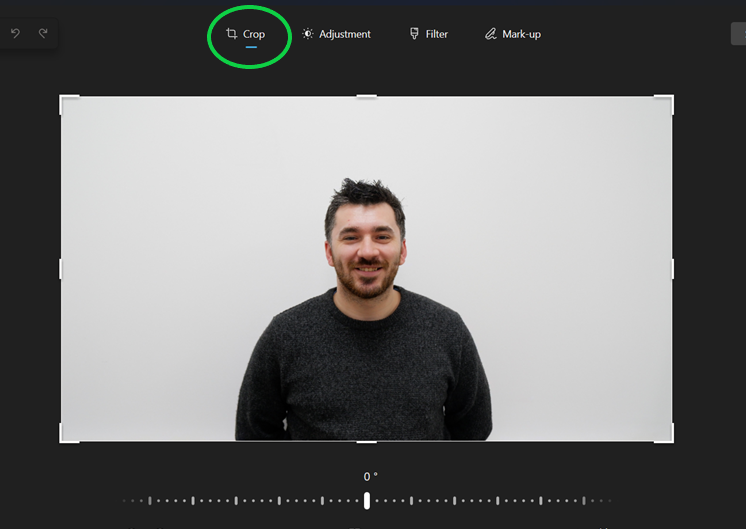
Cropping allows you to reduce the amount of the image that is visible. Moving the draggable corners or centre points of each side of your image will adjust the size of the image.
If your image is over the accepted dimensions to be uploaded onto VisiPoint, you could crop the image by moving the sides of the photo closer together, reducing the overall size of the image. You just need to make sure that the face is clearly visible as this will be used for facial recognition identity confirmation.
Manual resize
The second method you could use to resize your chosen image is to manually resize the photo yourself.
To do this, you will first need to open the image on a PC or laptop.
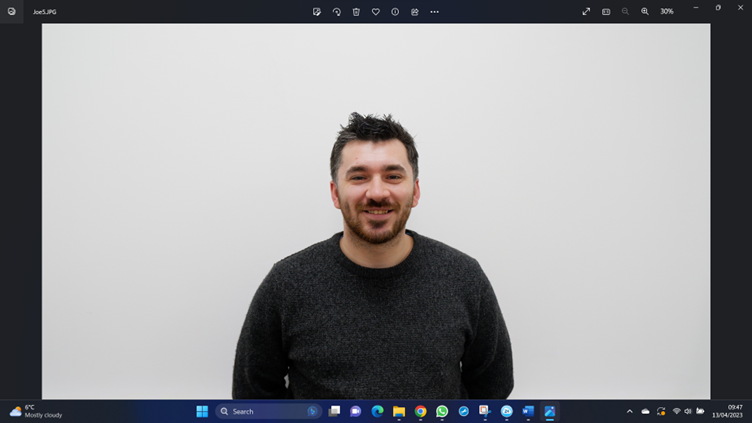
Once your image has opened, you will then need to click the three dots in the top menu bar. This will open a drop-down menu where you will find the Resize image option.
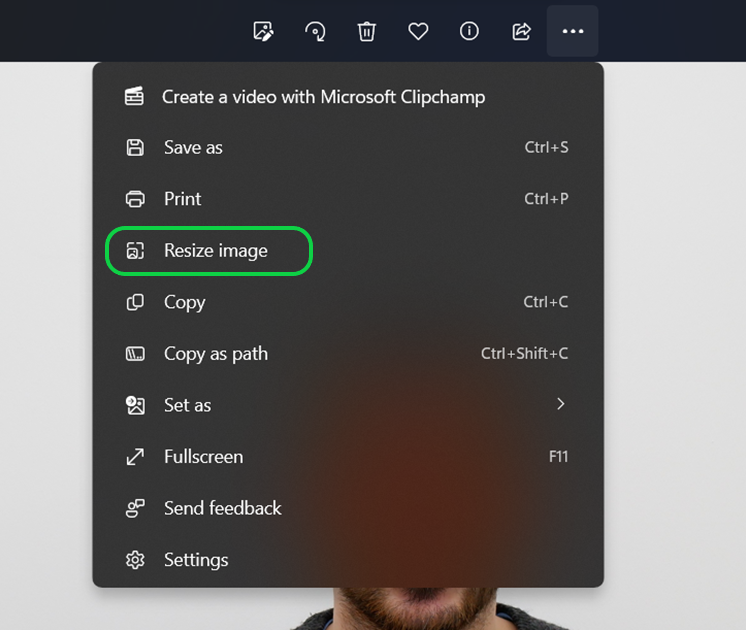
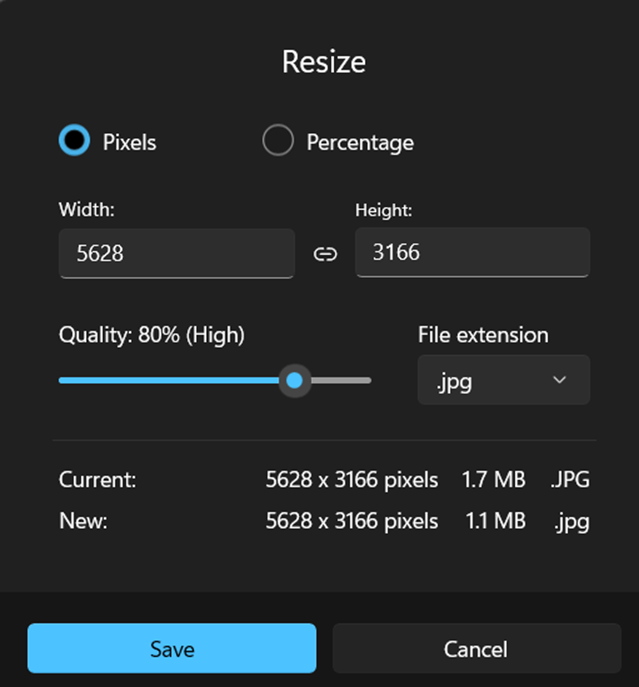
Clicking on this will bring up a pop-box that will allow you to set the exact width and height of your image. You will need to input a height and width that is within the accepted range to be uploaded onto VisiPoint.
Images must have a width of 250px – 4096px and a height of 300px – 2688px
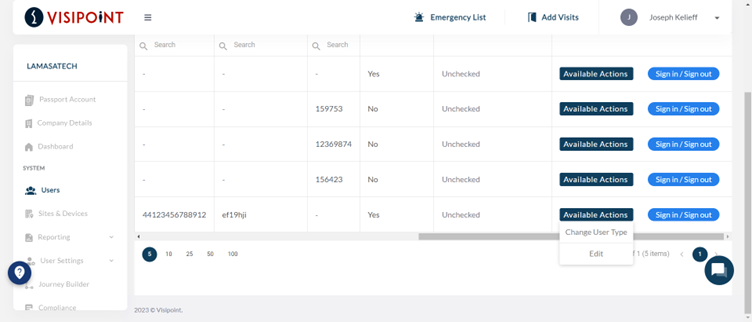
Once you have adjusted the size of the image, go to the profile you wish to upload it to on your VisiPoint dashboard and select Edit from the Available Actions.
This will bring up that user’s profile where you can adjust and edit their information.
To add the resized image to this profile, click on the camera icon.
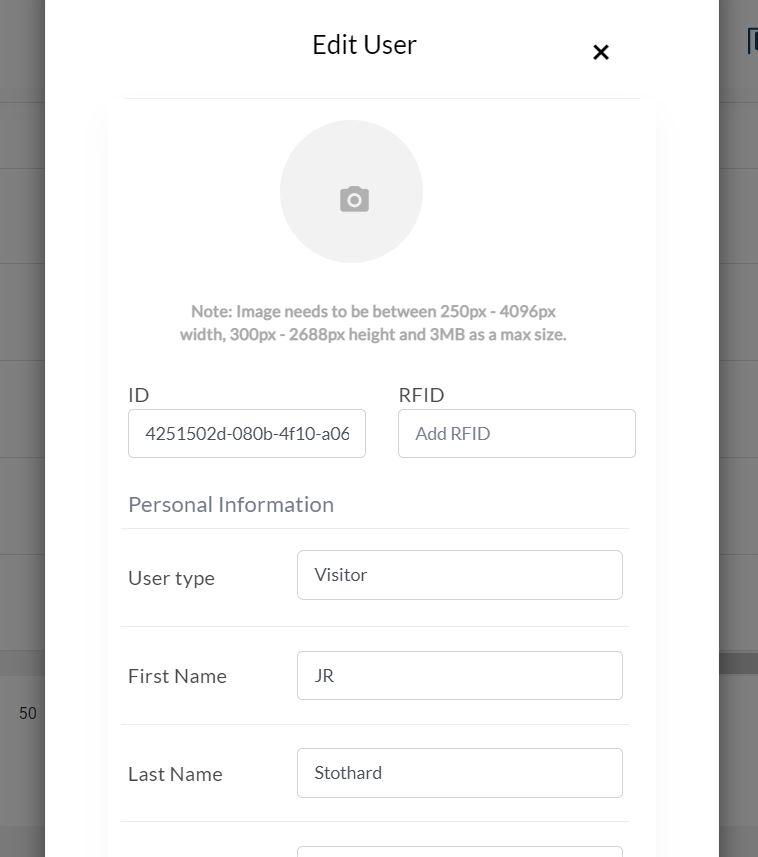
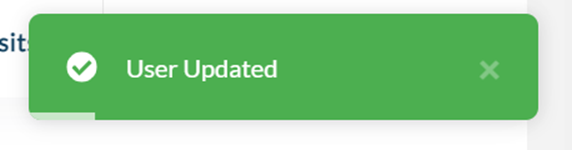
This will open your file manager where you can select your chosen image. Once you have uploaded your image, click Update at the bottom of the profile editor. You will then see a green notification showing this to be completed.
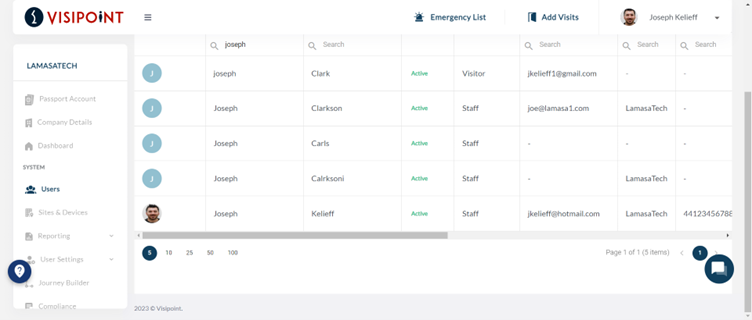
You will then be able to see this image next to the user in the user’s grid.