With our announcements feature you can update your users with new and important information to help keep them up-to-date. You can also set an announcement so that only specific user types receive the message, ensuring that only the appropriate people will see each announcement.
Announcements on the Dashboard
To start making your announcement messages you’ll need to go to your dashboard. Here you will find “Announcements” in the left-hand side menu.
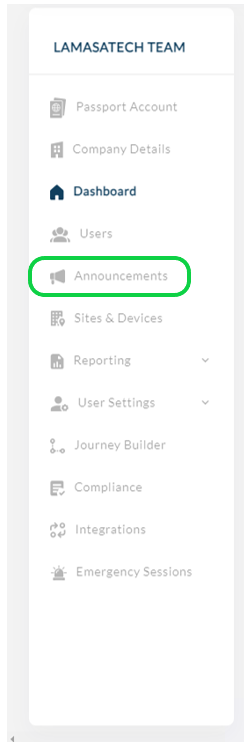
Once you have clicked on this, you will come to the following screen.

Here, you will find any announcements that have been made. You can click on them to see their information, or if they have been scheduled to be released in the future, you can edit or delete them.
To create a new announcement, simply click the “Add” button at the top.
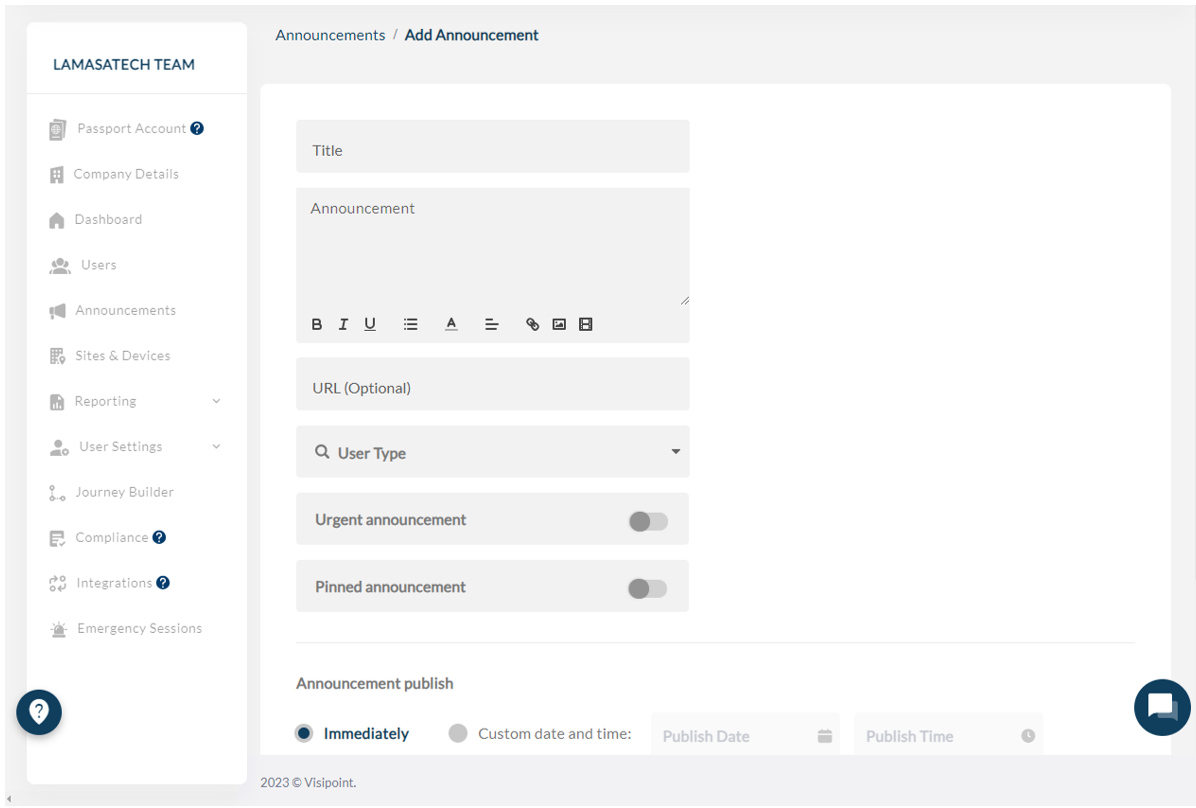
You can see there are several different fields that you will need to fill in.
- Title – is what you would like to name this announcement.
- Announcement text box – is where you will write your message including all of the information your users need to be made aware of.
- Optional URL box – allows you to include a link to a webpage for example, allowing you to provide your users with more information.
You will then need to select the exact User Types that you would like this announcement to be sent to. Do this by selecting them from the drop-down menu.
Below this, you’ll see two toggle options, “Urgent announcement” and “Pinned announcement”.
- Urgen announcement – this announcement will be kept at the top of the user’s announcements list until it has been read
- Pinned announcement – this announcement will stay at the top of the user’s announcements list
Next, you will need to choose when the announcement will be published. You can select to send it immediately or schedule it to be released later.
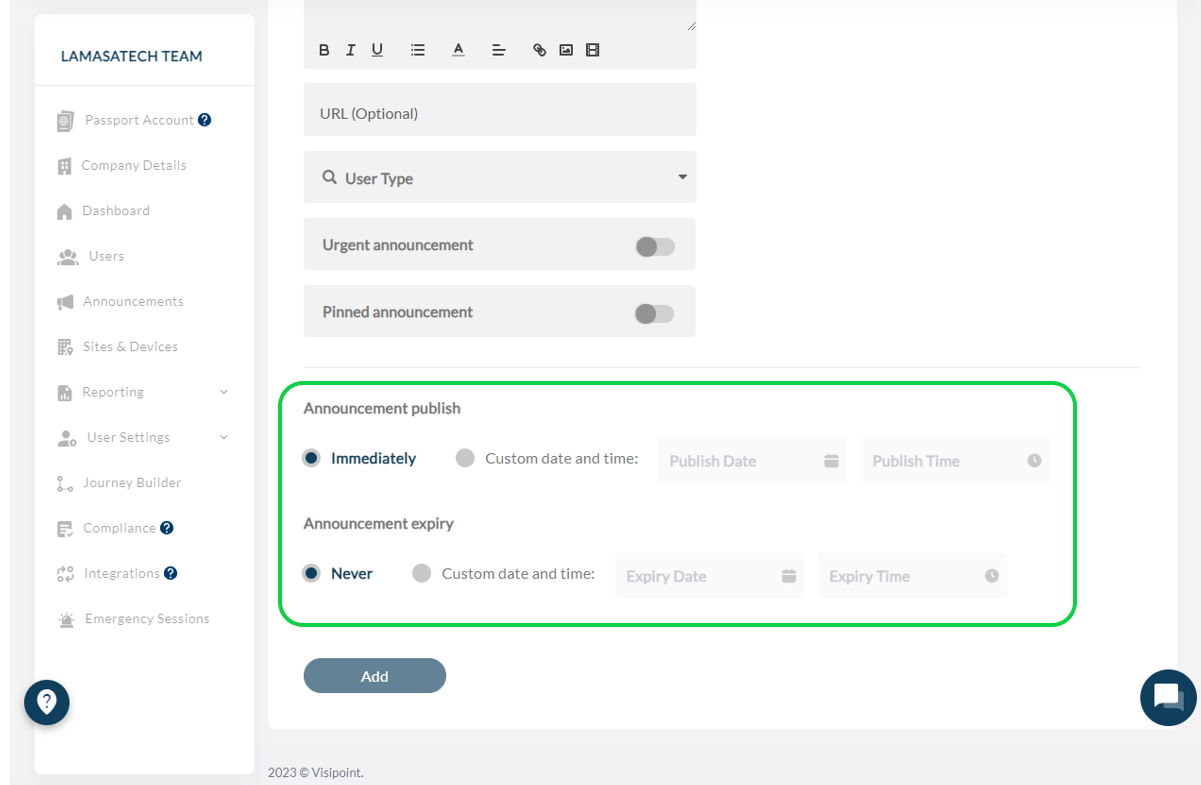
You can also set an expiry for the announcement. Choose for it to either never expire or select a date when it will.
Once you have settled on the timeframe for your announcement, you simply have to click “Add” to complete the process.
Announcements within the App
When your users sign into the app, they can see any announcements that you have made by going to the “Announcements” tab.
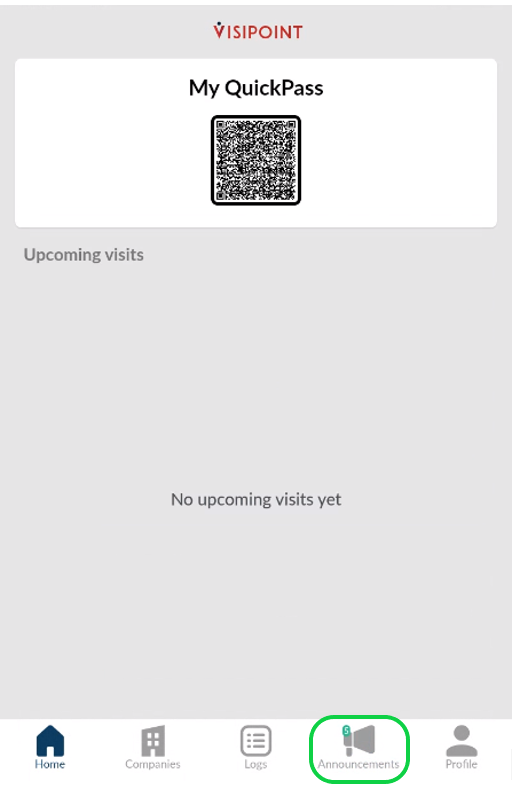
If there are any announcements, there will be a green mark on top of the announcements symbol, with a number inside. This indicates how many announcements are currently unread.
Once you have clicked on the announcements tab, you will see any announcements that have been sent out. If you have push notifications turned on for your mobile device, you will also receive one of these when an announcement is published.
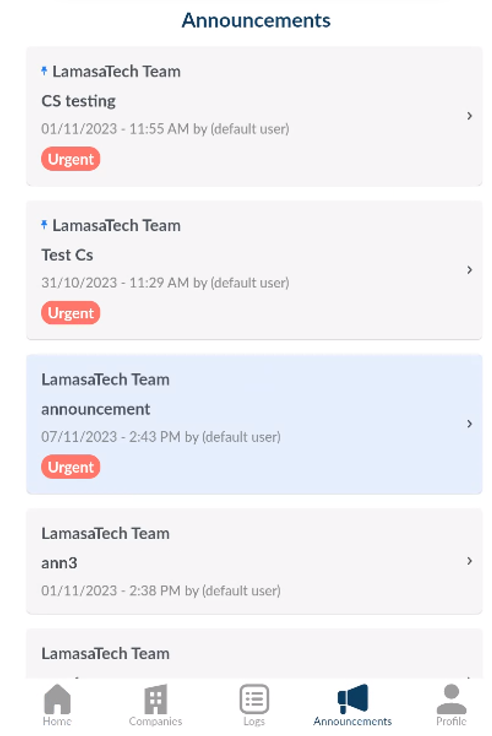
You will see from the image above, that if the user has not seen the announcement yet then it will be highlighted blue. The admin who sent out the announcement can also pin it to the top of the page.
You can also see the urgent mark to make certain important announcements stand out.
Once the user has viewed the message, it will move down if there have been newer announcements sent. If it was set to be pinned, it will stay at the top of the list.