Use this contents list to jump straight to the section you need:
1. What are Custom User Types
2. Important Considerations Before You Start
3. The Steps to Create a Custom User Type
1. What are Custom User Types?
We’ve created Custom User Types so that you can:
- Create your own categories of visitors and users
- Create custom-labeled sign-in buttons on the VisiPoint tablet or kiosk
For example, here’s the default home screen on the VisiPoint kiosk or tablet:
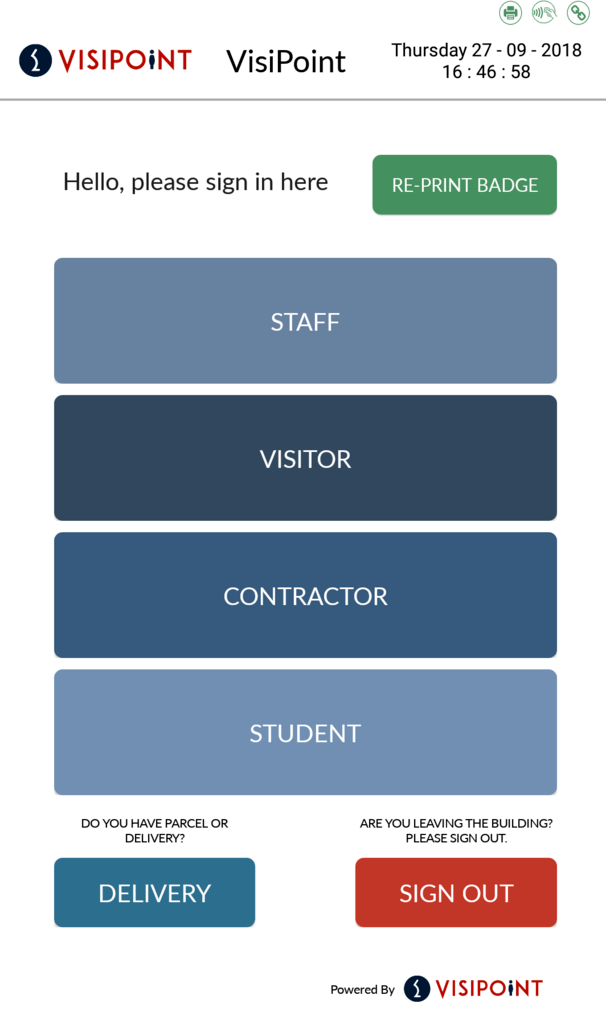
With custom user types you can change the buttons on the screen to whatever you need.
2. Important Considerations Before You Start
Destination and Locations
When creating a Custom User Type, you must also assign them to Destination and Locations.
All systems are set up with Default Destination and Default Location. If you only have one device, entry point or building, you can go ahead and set Default Destination and Default Location. There’s no need for any additional destinations or locations to be set up.
If you have more than one entry point or building you’ll be in one of three scenarios:
- You want all your devices to display the same sign-in buttons = No need to set up a new destination or location.
- You want to change the sign-in buttons on one or more of your devices = No need to set up a new destination or location.
- You want to give certain users entry to particular facilities or have more granular reporting on access to certain facilities = You’ll need to set up a new destination and locations. It is easiest if you do this before going to create your user types. You can see the article for this here. It’s not a problem if you create your User Type first, you’ll just need to remember to come back and apply your Destinations and Locations to the User Type afterwards.
Parent User Types
Each Custom User Type has a ‘Parent User Type‘ drawn from either the default VisiPoint User Types – Staff, Visitor, Contractor or Delivery User Types. The Parent User Type’s restrictions will be passed onto your Custom User Type.
For example, if I create a custom user type called ‘Volunteers’ that has ‘Staff’ as its Parent User Type, my Volunteers will all require a unique email address. Here you can see the rules for default user types – the required fields for each user type that cannot be made non-mandatory:
- Staff – First Name, Last Name, Email, Section
- Visitors – First Name, Last Name, Company
- Contractors – First Name, Last Name, Company
- Deliveries – Name
3. The Steps to Create a Custom User Type
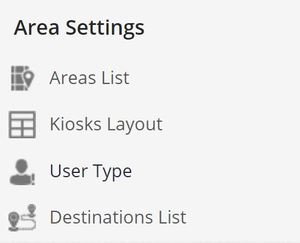
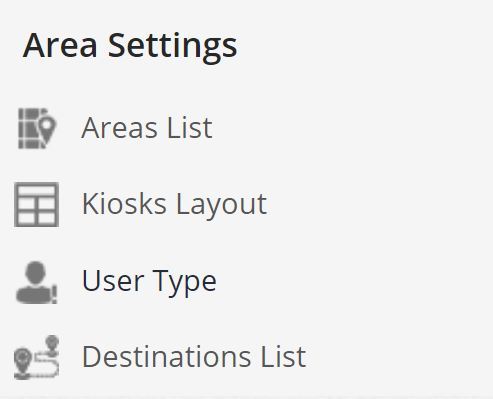
- Select User Type from the Area Settings on the bottom left-hand side navigation of your VisiPoint Dashboard:
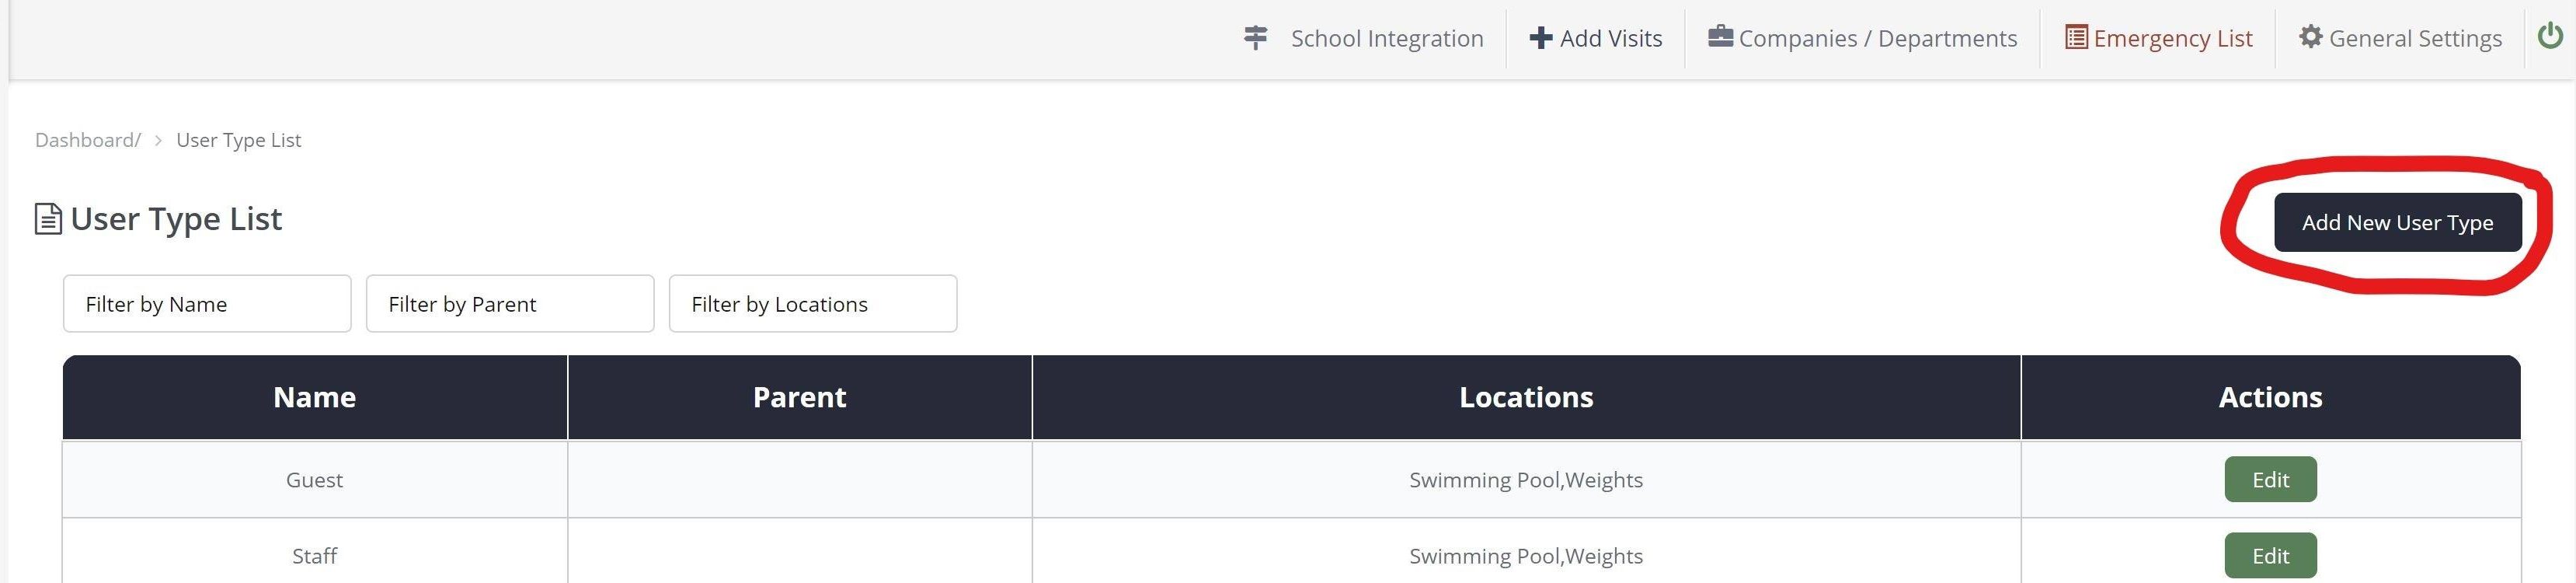
- When in the User Type List, click Add New User Type:
- Give the User Type a name
- Select a Parent User Type from Staff, Visitor and Contractors
Note – if you missed that part of the article, click here to go back to it. - Select a Destination that this User Type will visit. Expand the Destination by using the arrow drop-down and check the tick-boxes to give this User Type access to all or certain locations within this destination.
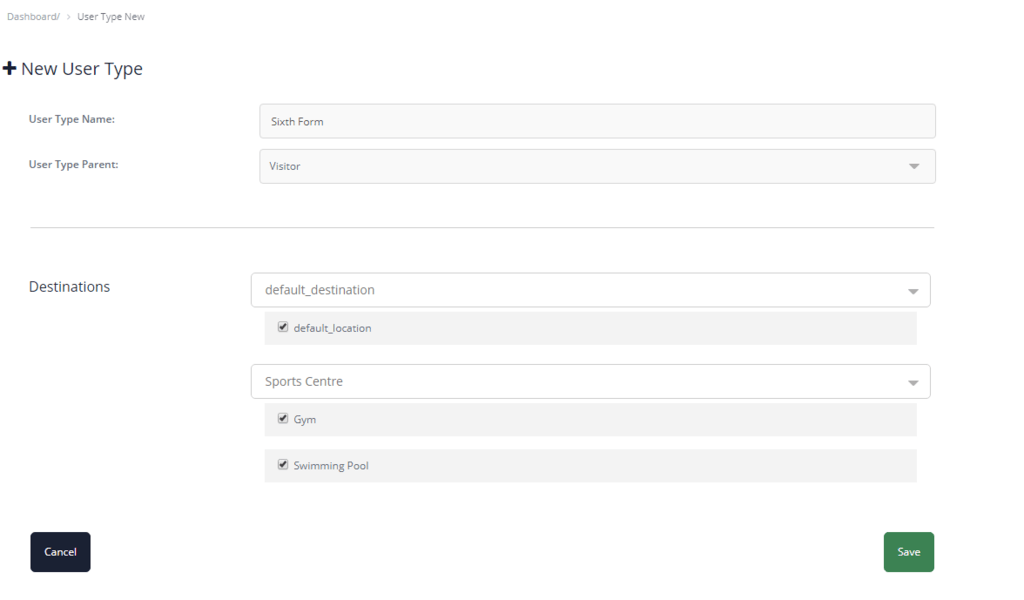
Note – Default Destination and Default Location should be ticked if you have one device, or if you have multiple devices and want to add your new User Type to your standard sign-in process. If you’ve created your own Destinations and Location, check the relevant boxes. Click here to go back to the section about Destinations and Locations if you missed it.
- Save your user type.

Once you’ve saved your User Type, you’ll need to edit your default Kiosk Layout or create a new kiosk layout so that your kiosk starts to display your sign-in button for that User Type name. You can go to the Knowledge Base for Kiosk Layout here.
Need a nudge in the right direction?
You can speak to our friendly support team at +44 (0) 191 341 0016.