With shared user types you can allow users to sign in at your different locations. This means user profiles are shared across your locations. For example, your staff can sign in at any of your offices using their existing staff profile on the kiosk or their staff ID card. Or the governors of your Multi-Academy Trust can sign in at your different schools.
Jump straight to the section you need:
1. Setting Up User Type Sharing
2. Configuring User Type Settings and Destinations
3. Removing the Sharing Connection
1. Setting Up User Type Sharing
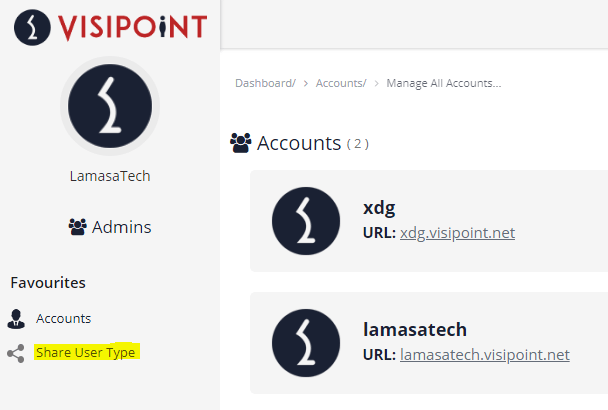
In your master accounts page, select the ‘Share User Type’ option under Favourites on the left-hand navigation:
You’ll then see a picker to set up a new sharing connection, with a Shared List of existing connections below:
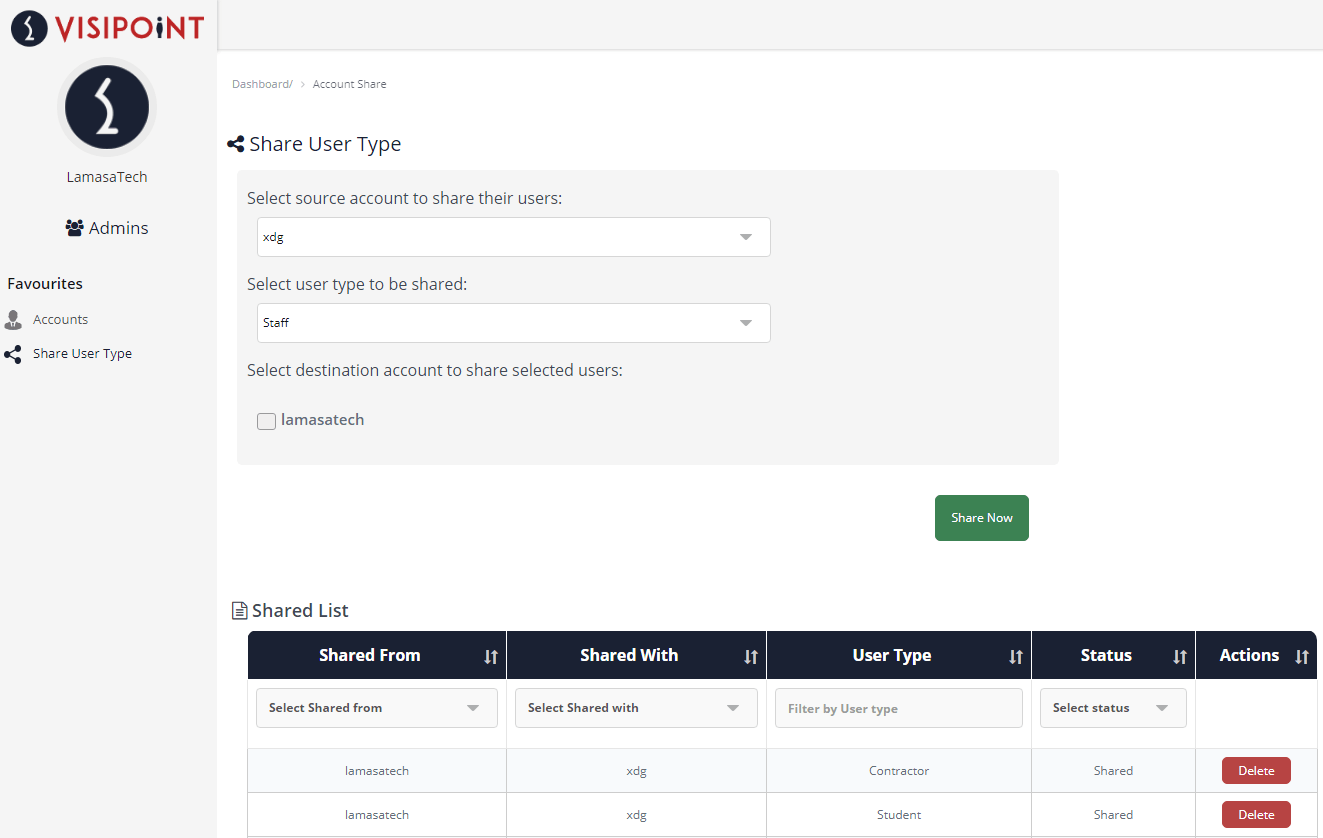
- Click on the first drop-down to select the dashboard account that has the User Type that you want to share with other accounts.
- Use the second drop-down to select the User Type.
- Select the destination dashboard account(s) which you want the User Type to be shared with.
- Click ‘Share Now’.
Once you’ve shared the User Type, you must edit the User Type’s settings and layout of your devices to ensure the User Type can sign in at your desired destinations.
Syncing User Changes
If you make any changes to users of a shared User Type these changes will be reflected across the sites in every dashboard as the information syncs in real-time. For example, if you ‘expire’ a user when a staff member leaves the organisation, this user will expire at every site. Or if you issue a new RFID pin, this new pin can be used at any site to pair the RFID card (staff ID card) for ongoing use at any site.
2. Configuring User Type Settings and Destinations
Once you’ve shared the User Type, you must edit the User Type’s settings and layout of your devices to ensure the User Type can sign in at your desired destinations.
User Type Settings
Firstly click on the URL of the appropriate dashboard within your accounts.
- Go to User Types and click to edit the User Type.
- Select the Destinations that this User Type should be able to sign in at. Expand the Destinations by using the arrow drop-down and check the tick-boxes to give this User Type access to all or certain locations within this destination. If you only have one device or you have the same sign-in set-up on all of your devices, then you’ll probably use the Default Destination and Default Location. If have multiple destinations, check the relevant boxes.
- Hit the save button.
You can see the full details on User Type settings here.
Kiosk Layout & Sign-In Buttons
Go to the appropriate dashboard by clicking on the URL within your accounts.
- Select Kiosk Layout from the Area Settings Menu on the left-hand side navigation of your dashboard.
- Click edit on the desired layout. This may simply be Default Kiosk Layout if you don’t have a need for different welcome screen layouts at the one site.
- Using the first set of tick boxes, select the shared User Types that you want to be able to sign in on your device(s).
- In the list of tick boxes below, check the box for the shared User Types to have a sign-in button on the welcome screen.
You may want to allow staff from other sites to be able to sign in at your site only if they have their staff ID card on them. If they don’t have their ID card you may want them to sign in as a visitor and get a paper ID badge. In this case, you would check the tick box next to the User Type in the first set, but not check the tick box for the corresponding button in the second set.
You can see the full details on Kiosk Layout settings here.
3. Removing the Sharing Connection
At any time you can remove the sharing connection between your sites. The User Type will no longer be able to sign in at the sites you have deleted the connection for, however, the data and reports on the User Type’s sign-in activity will still be available in each dashboard for safeguarding and security.
To delete a connection:
- In your master accounts page, select the ‘Share User Type’ option under Favourites on the left-hand navigation.
- From the Shared List at the bottom of the page, click ‘Delete’ next to the sharing connection you wish to remove.
- Confirm the deletion by hitting the Delete button.
Archived Users
You will still have past sign-in activity for these users available in your reports. The users will also be moved into a new address book for Archived Users. If you have deleted a sharing connection you will find a list named Archived Users under Address Books in your appropriate dashboard account(s).
Need a hand with shared User Types? You can speak to our friendly support team at +44 (0)191 341 0016.